
















A reasonably priced shelving unit can become an awkward purchase when its longest panel does not fit the stairwell or its fixings arrive in several unlabelled bags. Before arranging collection, make a plan for both homes: how the furniture will leave the seller’s room and how it will become usable in yours. In autumn, include a way to keep boards and packaging dry between the doorway and the vehicle.
Identify the exact unit first
Ask for the maker, model or product number and photographs of the complete unit, back, joints and existing wall attachment. Find the matching instructions. Similar-looking furniture can have different back panels, joints and fittings. Ask whether the unit has been modified, glued, repaired or moved before. Do not assume an assembly diagram automatically proves that every joint can be dismantled safely. IKEA notes that suitability for disassembly depends on the product.
Measure the journey, not only the room
Record assembled dimensions and the longest part expected to remain after the agreed disassembly. Check doors, stair turns, lift access and the vehicle’s loading opening, not just its advertised cargo volume. Leave room for protection and secure loading. Agree who provides suitable transport and enough capable help. If the route or lifting plan is uncertain, use a furniture mover rather than discovering the problem with a tall unit already detached from the wall.
Inspect before anything comes apart
See the furniture in its current state where possible. Ask for close-ups of swollen edges, cracked corners, damaged fixing holes, sagging shelves and repairs. Distinguish a surface scratch from damage at a structural connection. Do not rock, climb on or load-test the unit. Do not remove a wall fixing simply to take a photograph. If damage makes safe disassembly or reuse uncertain, pause the purchase and obtain competent advice; a discount does not restore a damaged connection.
Agree a limited disassembly plan
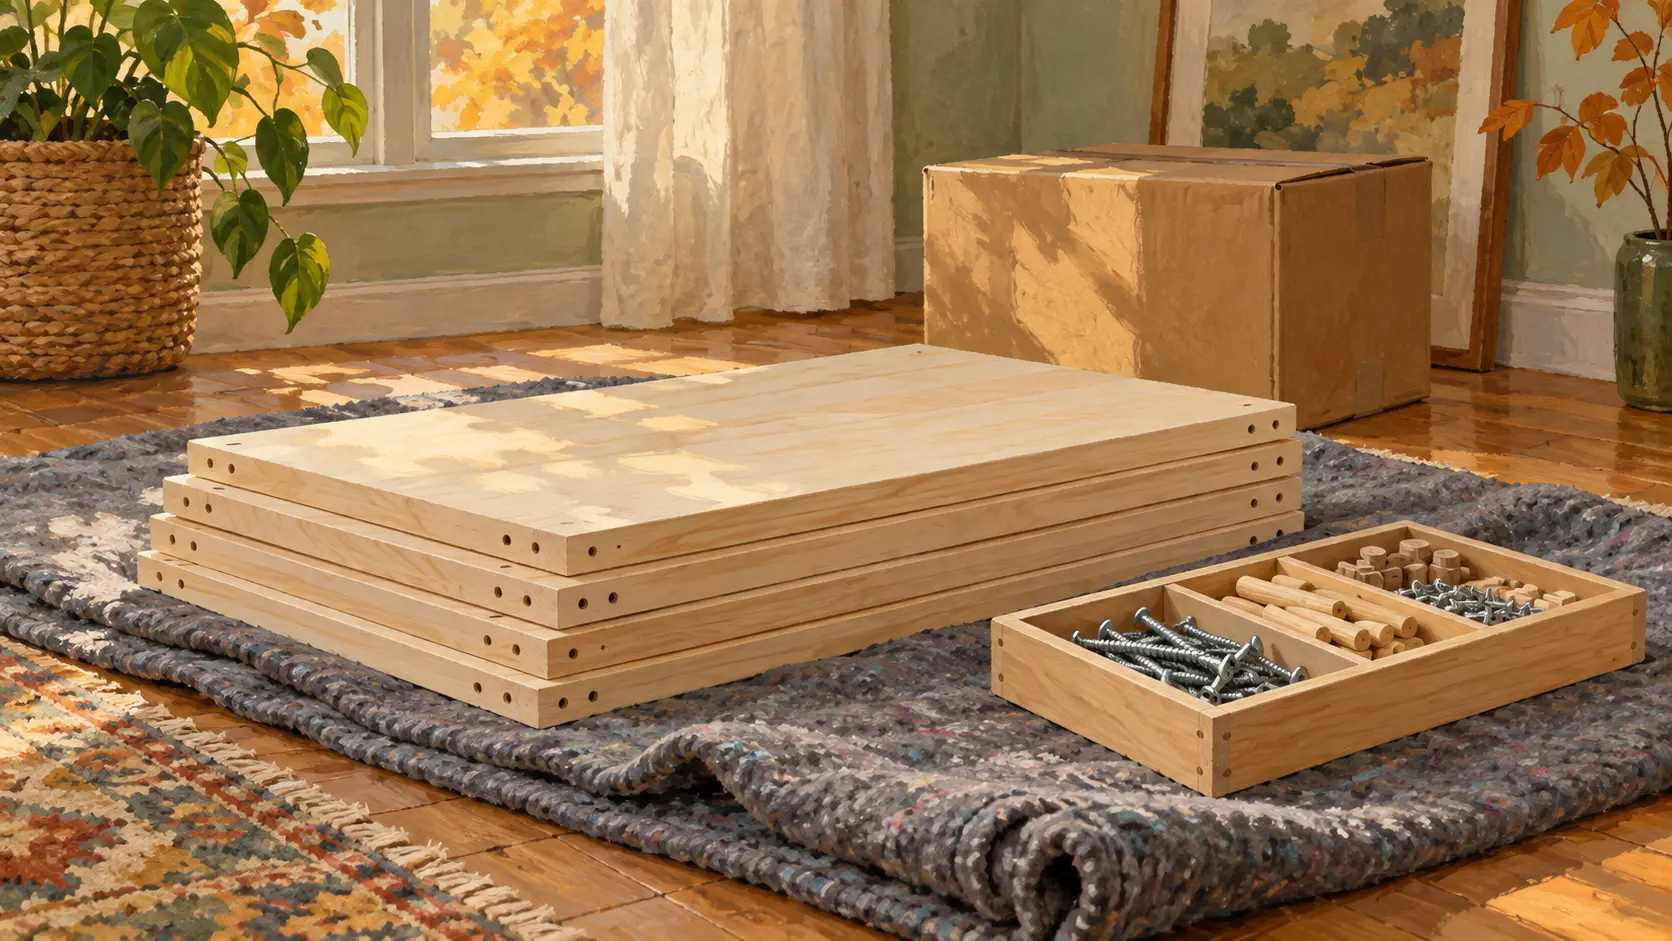
Use the exact model’s instructions and competent help to decide which parts can be removed. Empty the unit first and keep children and pets away from the work area. Do not improvise a sequence for a heavy or unstable carcass. Glued or stubborn joints are not an invitation to use more force. Photograph agreed connections and inventory removable hardware before packing. Keep matching screws, shelf supports and fittings together in labelled bags, with a separate list of anything missing. Labels belong on bags or protective wrapping, not on delicate finished surfaces.
Protect parts without losing the inventory
Protect edges and finished faces and keep small parts in a closed container that travels with the furniture. Agree a transport arrangement that supports the panels and prevents the load moving; if unsure, let the mover choose it. A blanket protects a surface but is not a load restraint. Keep boards out of rain and avoid leaving them leaning unsecured in a corridor. Check the inventory together at handover, including the back panel and any manufacturer-specified anti-tip fittings.
Plan the new wall attachment before use
The seller’s wall plugs are not automatically suitable for your wall. Identify the wall material and obtain the correct fixing advice before installation, including checks for concealed services. For example, IKEA Estonia requires secure anchoring for this BILLY model. Follow the instructions for your actual unit; seek qualified help when the wall, fittings or condition are uncertain. Do not load or use furniture whose required assembly or anchoring is incomplete. If a rental arrangement prevents the necessary fixing, resolve that before buying rather than omitting it.
A useful collection agreement lists the model, known damage, parts included, disassembly responsibility, transport and installation plan. The best purchase is the one you can move and put back into service safely, not simply the one that fits the photograph.