


















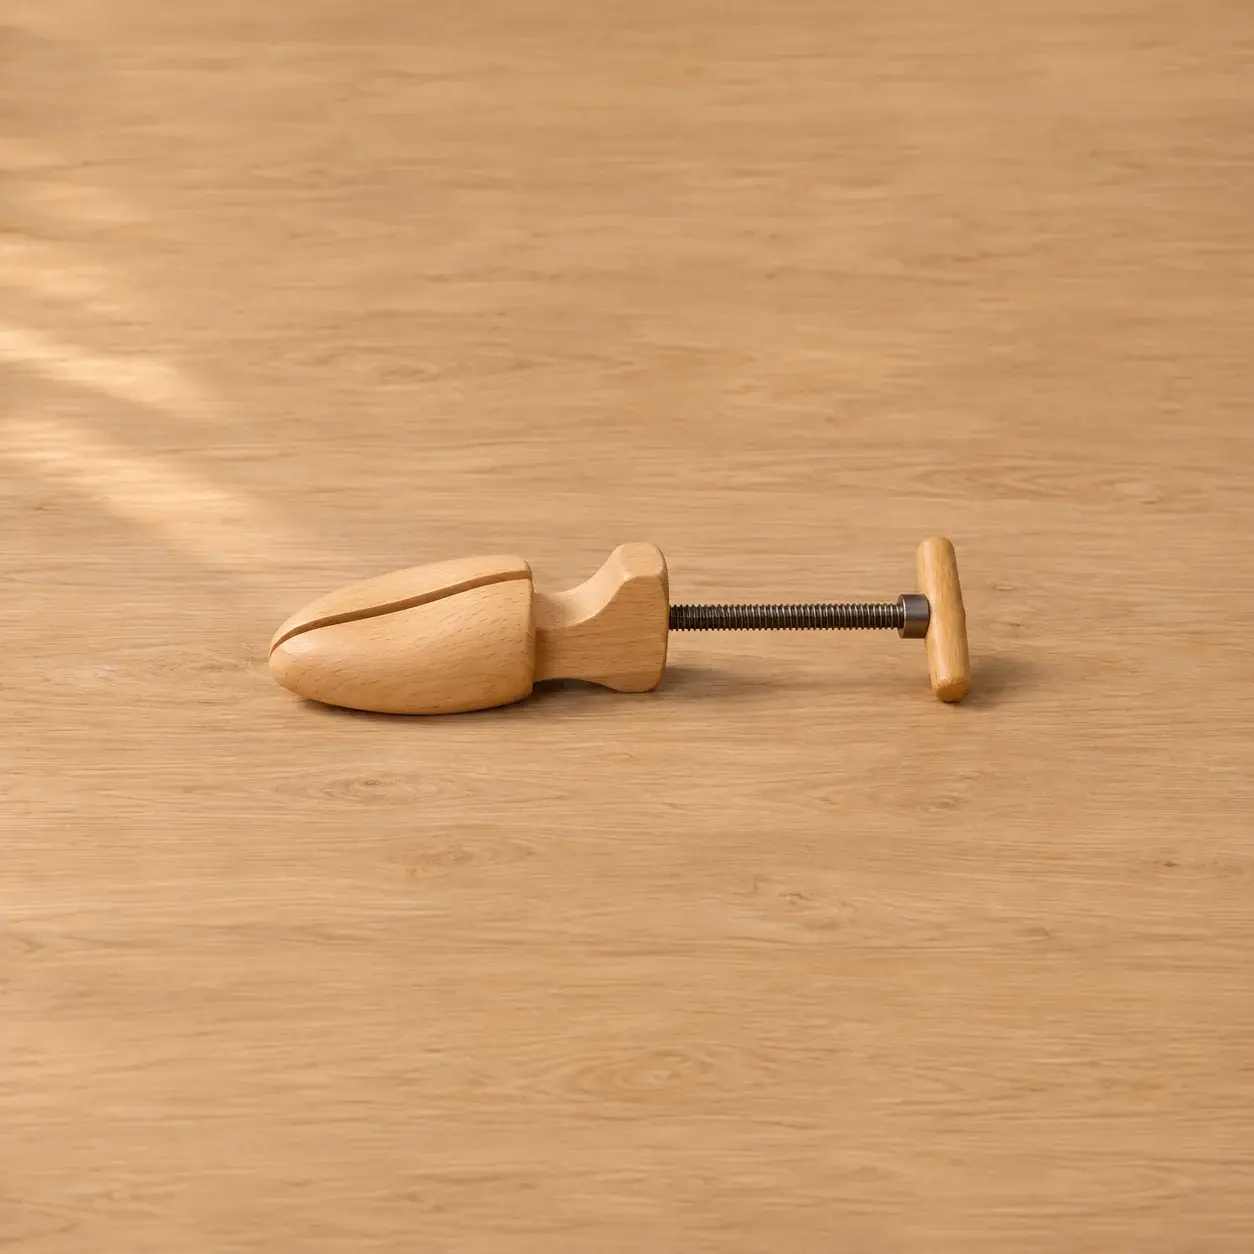
A used shoe stretcher can look complete in a photograph while leaving the most important questions unanswered. What size is the wooden last? Does it belong to one side, or can it serve either shoe? Which parts actually move? Before arranging collection through Zeppik, ask for photographs that show the mechanism rather than only the polished upper surface.
Read the marking before measuring
Start with the brand, model and any number stamped into the wood. Ask the seller to photograph the marking beside the whole item so that it is clear which piece it identifies. A letter such as M is not enough: DASCO distinguishes men's and women's size ranges and warns that stretchers do not add a whole shoe size.
A ruler photograph is useful supplementary evidence. Request the last's length and widest forepart with the mechanism relaxed, with the measuring points visible. These dimensions describe the object being sold; they do not replace the manufacturer's compatibility information. Avoid choosing a larger last simply because it appears to offer more adjustment.
Establish the shape and adjustment type
Ask whether the listing includes one stretcher or two. A single centrally shaped tool may serve either shoe, as specified for the Langer & Messmer model. That should be verified for the actual item, not assumed from its wooden construction. Photograph the underside and any left or right marking.
DASCO's two-way model adjusts width and length separately. For an unfamiliar tool, ask the seller to identify each control and demonstrate its movement without loading a shoe. A spring-loaded shoe tree intended to maintain shape during storage is a different product; a heel spring alone does not establish a stretching function.
Inspect the screw without forcing it
Look closely at the exposed thread, handle attachment and joints between the wooden pieces. Rust, damaged threads, cracks around the metal insert or a handle that turns without moving anything deserve a clear description. Ask for a short video of gentle opening and closing within the normal adjustment range. Stop if the mechanism binds; forcing it is not a useful condition test.
- Count the removable plugs and photograph their matching holes.
- Record any missing heel section, replaced screw or repaired crack.
- Show wear in daylight rather than hiding it with fresh polish.
Write an advertisement that can be checked
State the marking, quantity, adjustment type and observed faults. Include the instructions if available, and distinguish a tested movement from an untested function. Langer & Messmer advises gradual adjustment and avoiding overstretching. A clear listing describes the tool's condition without promising a particular fit or a result on the buyer's footwear.