


















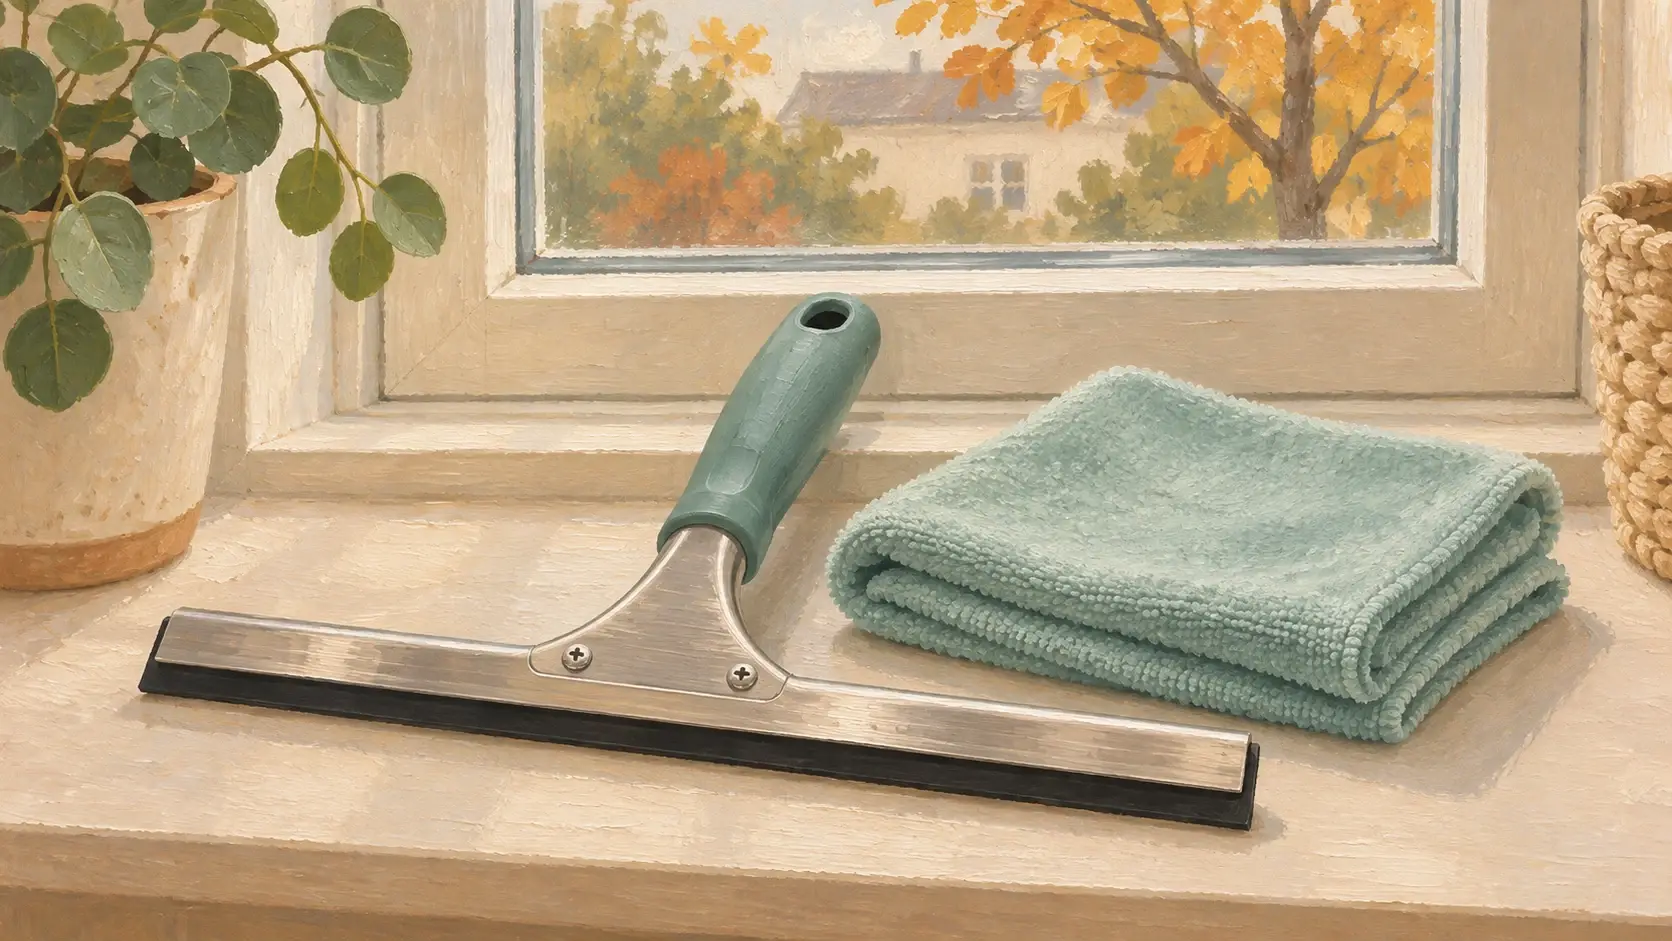
A manual window squeegee is a small purchase, but an attractive handle tells you little about the part that touches the glass. Before buying second-hand, look at the rubber edge and the channel holding it. Also measure the window you intend to clean. A wide professional tool can be awkward on small panes, while a cheap incomplete one may need parts you cannot readily identify.
Identify the intended surface
Ask for the model name and a close photograph of the working edge. A window squeegee, a shower squeegee and a floor tool may look similar in a distant photograph. The Unger Ergo Wall example uses twin foam-rubber blades for tiles and grout. That is a particular design, not evidence that every rubber tool suits your glazing. Check the actual product instructions and your window’s care guidance.
Measure the pane and the route
Note the clear pane width between the frame edges and any narrow side sections. Think about where the handle can move without catching a latch. Plan only work you can reach safely while standing on a stable floor. Do not lean out of a window or stand on furniture to justify buying a longer tool. An extension pole also needs its own compatible, secure connection and an appropriate method of work.
Inspect the wiping edge
Ask to see the full length of the rubber, including both ends. Look for visible splits, cuts, hard-looking deformation or sections missing from the edge. Check the channel for obvious bending and the handle for cracks or movement where it should be fixed. These observations help describe condition; a photograph cannot establish flexibility or guarantee a streak-free finish. A rubber strip that needs replacement should be costed as a replacement, not described as ready to use.
Confirm the replacement system
Unger lists replaceable handles, channels and rubber blades in its range. For the actual used item, identify which pieces can be changed and the correct part reference. Width alone does not establish compatibility. Ask whether end clips or other retainers are included where the design requires them. Do not force unrelated strips or fittings together merely because they appear close in size.
Make a small suitable test
If the instructions and window surface permit it, ask for a brief demonstration on an ordinary reachable pane with a suitable cleaning method. Protect the surrounding floor and dry any drips promptly. Notice the result, but do not diagnose every streak as a worn blade: the surface, residue and technique may also affect the demonstration. Never turn the inspection into scraping unknown coatings or removing stubborn debris with a metal edge.
Finish with an honest listing
Photograph the complete tool and the edge close up, and state what was tested. Include the working width, model and actual accessories. Do not use a stock photograph to imply that an absent pole or spare rubber is included. Clean and store the tool according to its instructions, without crushing the wiping edge under other equipment. The useful purchase is the complete tool that fits your window and a safe cleaning plan.