








Buying a used sewing machine: test it before autumn mending
If autumn brings trouser hems, pillowcases or loose seams to mend, a used sewing machine may be a sensible purchase. Its value depends on whether it suits your work and includes the accessories needed to do it. Turn the listing's “working condition” claim into a specific demonstration, rather than assuming the machine can sew anything.
1. Start with your projects and the exact model
List two or three jobs you actually want to do. Sewing a cotton pillowcase and repairing a stretchy shirt are different tasks. Do not choose solely by the number of decorative stitches. Request a photograph of the model label and find that model's manual. Check the permitted materials, needles and techniques.
If the listing describes an overlocker or embroidery machine, establish whether it will perform your intended ordinary sewing tasks before arranging a meeting. Ask about dimensions and weight too: you need a stable work surface and room for fabric to move.
2. Make a specific accessories list
Ask for one photograph showing everything included: foot controller, power lead, bobbins, bobbin cover, presser feet and other model-specific items. Compare these with the manual's supplied-accessories list. Janome advises matching accessories by machine model and accessory part number. A similar-looking bobbin or controller is not sufficient evidence of compatibility.
A missing decorative-stitch foot may not matter to you, but a missing essential part adds cost. Check replacement availability and price before buying. Ask the seller to distinguish included items from accessories borrowed just for the demonstration.
3. Inspect before switching on
Look externally at the casing, cable, plug and controller. If you see damaged insulation, a loose connection or other electrical damage, skip the powered test and seek a technician's assessment. Do not open electrical compartments or attempt a wiring repair at the meeting. Ask whether the machine has been dropped, stored somewhere damp or repaired previously.
4. Agree a realistic sewing demonstration
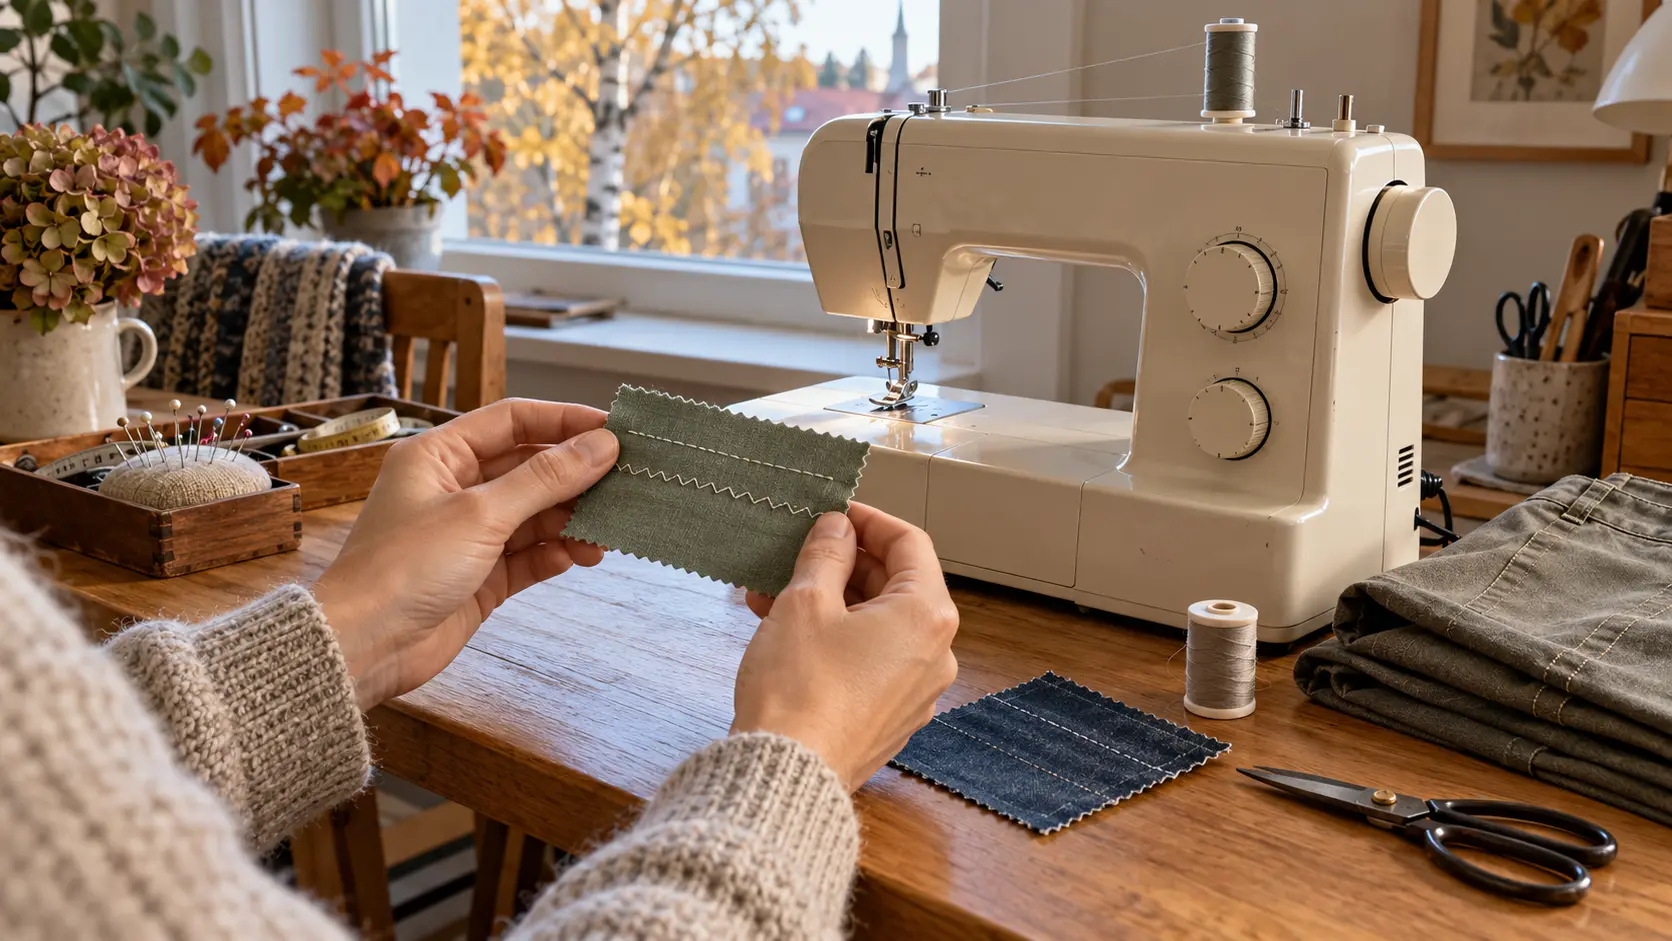
Bring a small, clean fabric sample suitable for your project and allowed by the model's instructions. Brother recommends trial stitches with the same type of fabric and thread as the project. Do not demand thick stacks of fabric simply to demonstrate power.
Ask the seller to thread the machine correctly and demonstrate a slow start, straight stitching and reverse securing where supported. Try zigzag or another supported stitch needed for your work too. If you are a beginner, let an experienced user demonstrate; keep your hands clear of moving parts.
5. Inspect both sides of the sample
Look for skipped stitches, loose loops and uneven feeding. Ask which settings were used. One poor seam cannot establish whether the cause is threading, an accessory or the machine itself. Equally, “it only needs adjusting” does not establish a cheap solution. If the cause remains unclear, factor a professional inspection into your decision.
6. Ask about maintenance; avoid universal oiling advice
Brother's HF37 guidance says the user must not oil that model. Another machine may have different maintenance requirements. Follow its exact manual rather than a one-size-fits-all video tip. Ask when it was last serviced, what was done and whether there is an invoice. Stop the demonstration if unexplained knocking or jamming occurs instead of forcing the machine to continue.
Before agreeing to buy
- You know the model and the functions your work requires.
- Included accessories and missing-part costs are clear.
- You have inspected both sides of a suitable sewing sample.
- Known faults and maintenance needs are recorded in writing.
Add missing accessories, possible servicing and transport to the asking price. When comparing Zeppik listings, favour a clearly described package and a verifiable sewing result over a long list of functions you will not use.