











You find a pair of cross-country poles with the same length printed on them as your old pair. That seems a simple replacement until the poles are placed side by side. Before winter, it is worth checking what a listing’s number actually measures. A clear photograph and a few precise questions can prevent a wasted journey and a poor comparison.
One dated change explains the problem
Swix changed its length reference from the top of the handle to the top of the strap in autumn 2022. This is an example from one manufacturer, not a change that happened to every pole that year. When comparing older and newer listings, identify the model and the measuring convention first. A number copied from an old purchase receipt may still be correct for that product while being unhelpful for comparison with another generation.
Choose the use before choosing the number
Classic and skating recommendations differ, so tell the seller which technique you intend to use. Then consult the guide for the relevant make and model rather than combining a height formula from one brand with a size label from another. Read whether the guide measures body height with boots or without them. If this is unclear, ask the manufacturer or a knowledgeable shop. This article is not a guide to competition equipment rules.
Ask for a photograph with named endpoints
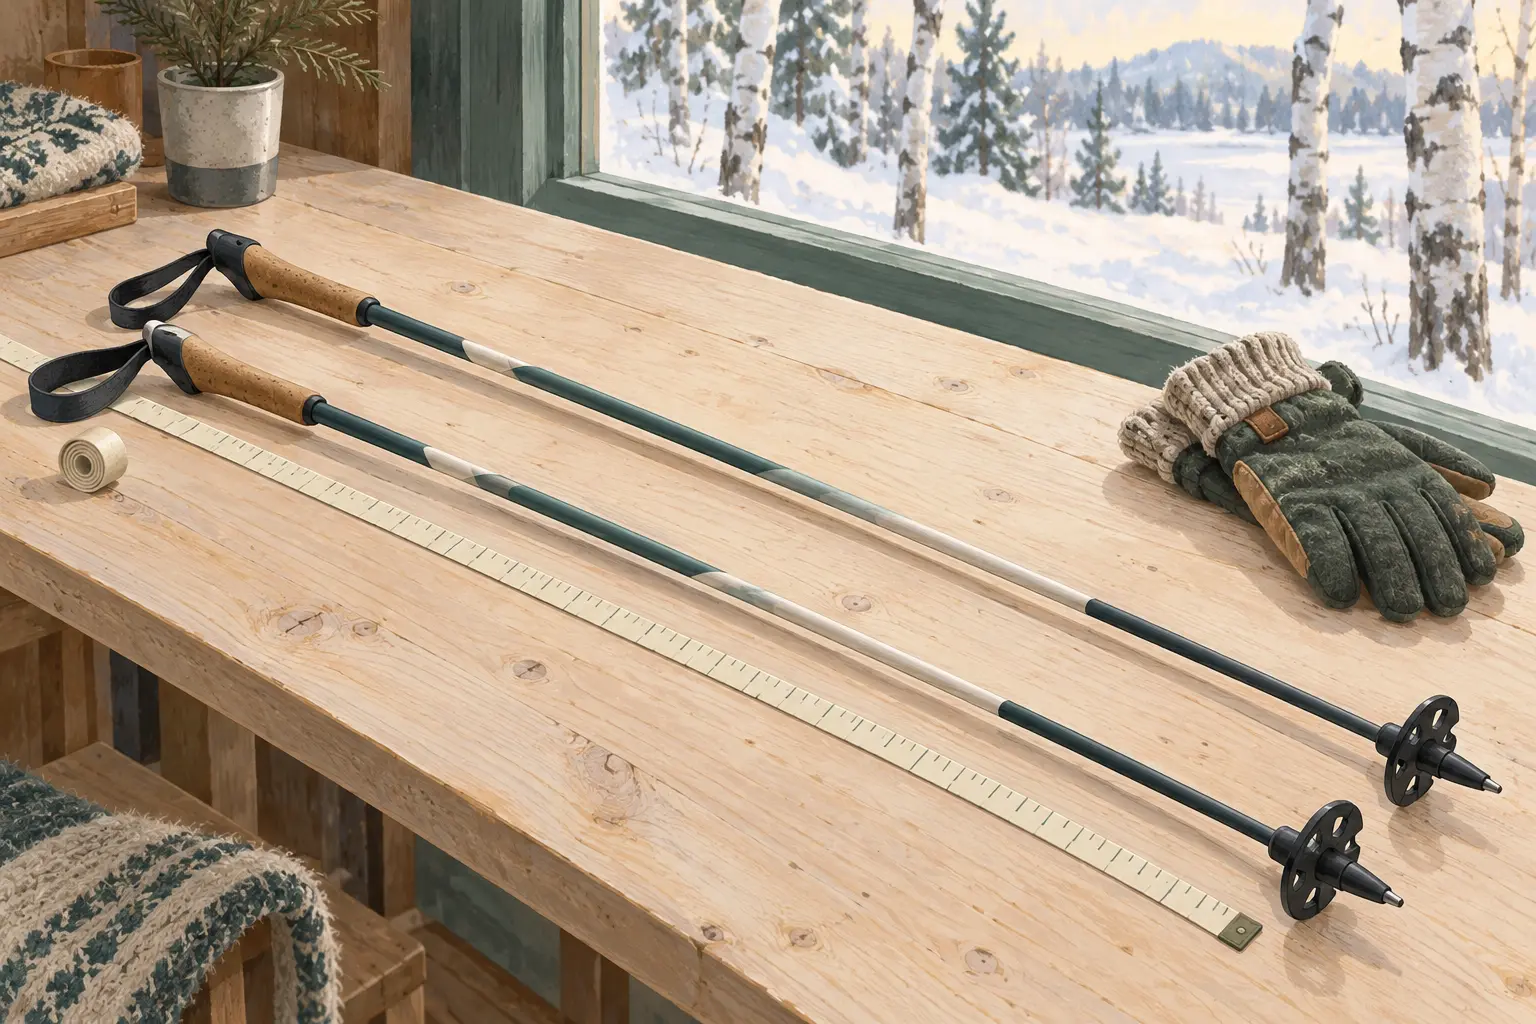
Ask the seller to photograph a tape beside each pole, clearly showing both endpoints. Tip-to-handle-top is a physical measurement that can be named explicitly. For comparison with a manufacturer’s chart, also request the reference point shown in that chart’s illustration. Keep these measurements separate. Confirm centimetres or millimetres and ask whether the poles have been shortened. A photographed number is useful only when both people understand where its measurement starts and ends.
Compare the pair, not only one pole
Place both poles together and look for differences in length, grips, straps and baskets. A matching colour scheme is not proof of a matched pair. Ask about replacement parts and any known repairs or impacts, then compare the visible condition with the description. Do not force a shaft straight or bend it to “prove” strength. If damage is suspected, pause the purchase rather than treating a home stress test as a reliable safety assessment.
Try the equipment you will actually wear
Where a fitting is possible, use the gloves and footwear intended for skiing. Follow the strap instructions and check that you can adjust and release the system as designed. A detachable strap needs the correct compatible attachment, not merely a similar-looking clip. Ask about available replacement straps or baskets using the exact model identification. This establishes what you are buying; it does not justify cutting, heating or gluing parts during a seller’s demonstration.
Write a listing that preserves the distinction
A useful description records the maker, model, printed length, approximate age if known, named physical measurements and any shortening. Photograph both poles and the strap connections. If the seller cannot identify the measuring system, say so instead of converting the number by guesswork. Buyers can then compare the actual evidence with their own equipment and the appropriate guide. Keep the original label in the description even when you add a separate tape measurement.
Useful questions to send the seller
- Which make and model are both poles?
- Which length is printed, and in what unit?
- Can you show the tape’s two endpoints?
- Has either pole or either grip been modified?
- Are both straps and baskets complete and compatible?
On Zeppik, these details are more useful than “suitable for someone my height”. If the measurement convention remains unclear, arrange a proper fitting or keep looking. The aim is a usable pair for your skiing, not a universal centimetre conversion. There is no need to replace poles that already fit simply because another listing uses a different number.