










When bringing out autumn clothes, set aside garments with a loose button or a small opened seam. Before buying a large sewing set, list two or three actual repairs. That list is a better starting point than the number printed on a box.
Start with the garment, not the piece count
Inspect the damage from both sides. Broken stitches and worn-through fabric need different approaches: simply sewing the same line again may not help if the surrounding material has become thin. Get advice first for a valuable garment or an unfamiliar fabric.
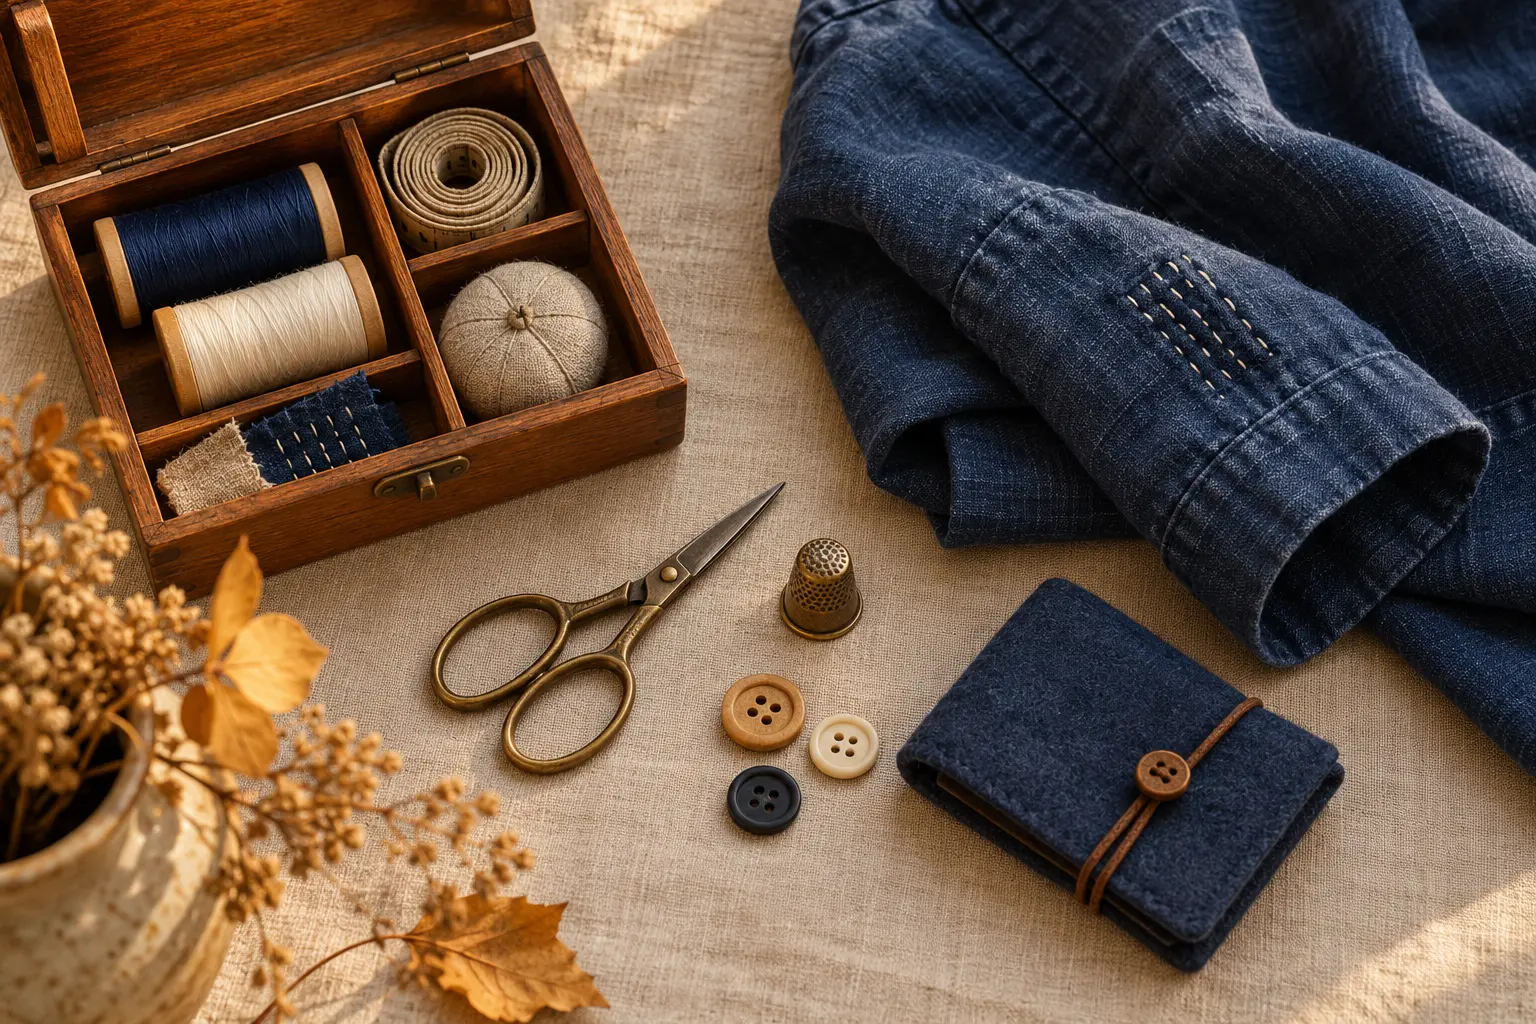
Check what you already own. Spare buttons supplied with your clothes are more useful than a random handful of fastenings. Compare a replacement’s diameter, thickness and attachment style with the buttons still on the garment.
A compact working kit
Start with a few hand-sewing needles, thread suitable for the fabric and colour, small sharp scissors, a tape measure and a box that closes securely. Pins or clips can hold pieces together; choose a thimble and needle threader if they help you. Add a seam ripper when old stitches need removing.
Do not choose a needle solely because it is easy to thread. Needle thickness, eye, thread and fabric need to work together. Prym distinguishes sewing, embroidery and darning needles. Check the stated purpose on the packet and try your combination on a scrap of similar fabric before working on the garment.
Buying second-hand supplies
Ask for close-up photographs of the contents, not just the attractive case. Replace rusty or bent needles and pins with damaged points. The box should close without allowing small sharp items to fall out.
Try scissors on an unwanted fabric scrap. Do they cut without folding the fabric, feel comfortable and have no obvious looseness at the joint? Test old thread of unknown origin in a sample seam first; a colourful spool does not establish its strength or fibre content. Avoid buying a kit simply for its large piece count.
Finish one small repair
Begin with a straightforward job on everyday clothing, such as attaching a suitable button. Use good lighting; check the fastening and remove every pin before wearing the garment. If the seam puckers or the needle is difficult to push through, stop and reassess the materials.
Lasnamäe has a municipal sewing repair workshop. Check current visiting arrangements and activities through the official links below. Protective clothing and load-bearing attachments need the manufacturer’s requirements or specialist advice, rather than a general household repair tip.
Before putting the kit away
- You have a particular garment and a clear task.
- The needle and thread suit the fabric; the sample seam worked.
- Tools are undamaged and scissors cut cleanly.
- All needles and pins are accounted for; sharp tools are covered.
- The closed box is out of reach of children and pets.
A small, sound kit that you can use comfortably is more useful than a large collection of uncertain contents. Add supplies for the next real task.